DIY epoxy floor products, what you need to know before buying.
When it comes to garage floor coatings, epoxy is one of the most popular options, but is it the right option for you? It can be applied in various ways, and there are many DIY epoxy floor kits available on the market. However, before you buy a kit and start working on your garage floor yourself, there are some things you need to know. This blog will discuss the pros and cons of DIY epoxy floor products and why polyaspartic floors are superior, and we will help you decide if this is the right option for you.
One of the most significant advantages of epoxy is that it can be applied in various ways. You can use a DIY kit to coat your entire garage floor, or you can apply epoxy in a more limited area, such as around your car. There are also many different colors and finishes available, so you can choose the option that best suits your needs. Epoxy is also pretty good and will last for a few years with proper care. Polyaspartic floors are more durable than epoxy floors, resistant to yellowing and fading, and ready to walk on in 24 hours.

However, there are some drawbacks to using a DIY epoxy garage floor kit. One of the main problems is that epoxy is not always easy to work with. If it is not applied correctly, the finish may not be smooth or even. In addition, epoxy can be pretty messy. It is essential to follow the instructions carefully to avoid making a mess. Epoxy is also one of the more expensive floor coating options. So, it would be best if you were sure that you are willing to invest the time and money into this project before you begin.
Beyond the material to cover the floor, various special-purpose tools are required. You will need gunite shoes. Gunite shoes are fitted with steel spikes and used to apply epoxy floors. You will also need several large squeegees a mixing tool fitted into an electric drill. Nap rollers and roller frames, paintbrushes, mixing buckets, and sturdy vinyl gloves round out the shortlist.
Surface preparation steps you might not have thought about.
Concrete must be properly cured and prepared before an epoxy floor coating can be applied. Concrete that is not fully cured will not allow an epoxy coating to adhere properly. Without a proper bonding between the floor and the coating, it is only a matter of time before the coating will blister, bubble and flake away.
A concrete floor must be profiled appropriately before applying a floor coating. Surface cream is the thin top layer made of cement paste and fines that provide concrete resistance to penetration by fluids like water or oil. This protective layer will prevent the epoxy from forming a solid bond to the concrete, leading to rapid finish deterioration. Many DIY kits recommend an acid wash to remove surface efflorescence and open the pores before sealing. An acid wash simply doesn’t get the job done when it comes to a long-lasting and durable epoxy floor finish. The only reliable way to prepare a concrete floor is with mechanical abrasion. The technique involves using a powered concrete sander with an industrial vacuum unit to remove the cream layer and provide a surface similar to 80 grid sandpaper. This profiled surface allows the first layer of the epoxy floor coating to form a solid bond for the concrete.
Cracks in the concrete are another common issue that needs to be addressed before any coating can be put down on a concrete floor. Some small, narrow cracks can be left alone and filled sufficiently with the first layer of floor coating. But what about large cracks? Depending on the depth, width, and length of the crack, more work will need to be done. If the crack is filled with dirt and debris, it can significantly decrease the coatings bond. It may allow moisture to seep under the coating, leading to blistering, flaking, and peeling. Deep cracks will need to be filled, but like mixing latex and enamel paint, using a crack filler with chemistry incompatible with your floor coating will rapidly fail.
Over time the concrete slab under your garage can become unlevel due to the soil settling below. Garage floors that are sufficiently out of level will have the floor coating running down the slope and producing unsatisfactory results. This is a job beyond most homeowners to undertake, and done wrong can make the situation worse.
At the far end of the damage spectrum are cracks with edges that are not level with each other producing a lip that will need to be taken care of. When the height difference is small, specialized concrete cutting tools can be used to remove material from the high side of the crack until it is level again. More extensive repairs will be required in some cases where the height difference is significant. This is referred to as slab jacking or mud jacking. Strategically placed holes are drilled into the concrete, and then a special mixture is pumped under the slab through the drilled holes. This is something that a homeowner should never attempt, and a certified and licensed professional should be used.
Common mistakes in first layer application
If you have managed to prepare the floor properly, it will be time to apply the first layer. Epoxies are a two-part mixture of resin and hardener. It is essential that the resin and harder are combined in the proper ratio and in a small enough quantity to be applied to the floor and leveled before the pot life is past. Pot life is the amount of time you have after the two parts are mixed to apply it before it becomes too thick to be leveled correctly.
Mixing the epoxy must also be done to prevent the introduction of bubbles into the mixture. Bubbles introduced into the mixture may require a torch or heat gun to remove them before the mixture hardens. A layer filled with bubbles will be weak and not properly adhere to the concrete below it.
Let’s not forget about working with epoxy at the correct temperature. The workspace should be between 70 and 75° F for adequate curing. Polyaspartic floors can be applied over a broader range of temperatures, making them the best choice in many situations.
Two-part epoxy mixes can also present a fire hazard. The chemical reaction between the resin and hardener is exothermic, meaning it produces heat. If left to cure in a contained mass such as in a mixing pot, it can generate enough heat to melt plastic, burn your skin, or ignite surrounding combustible materials.
Building the second layer and why it is critical
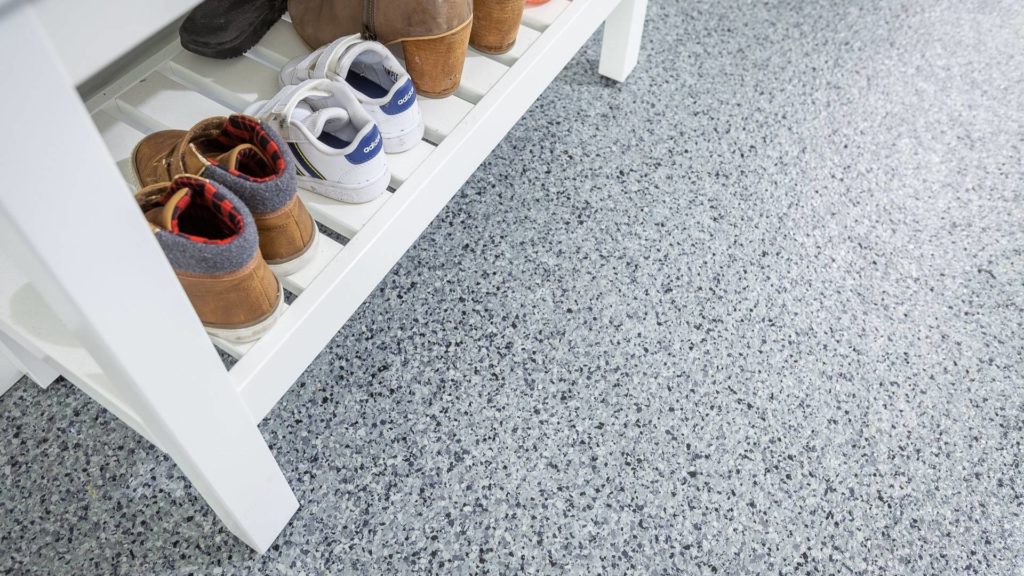
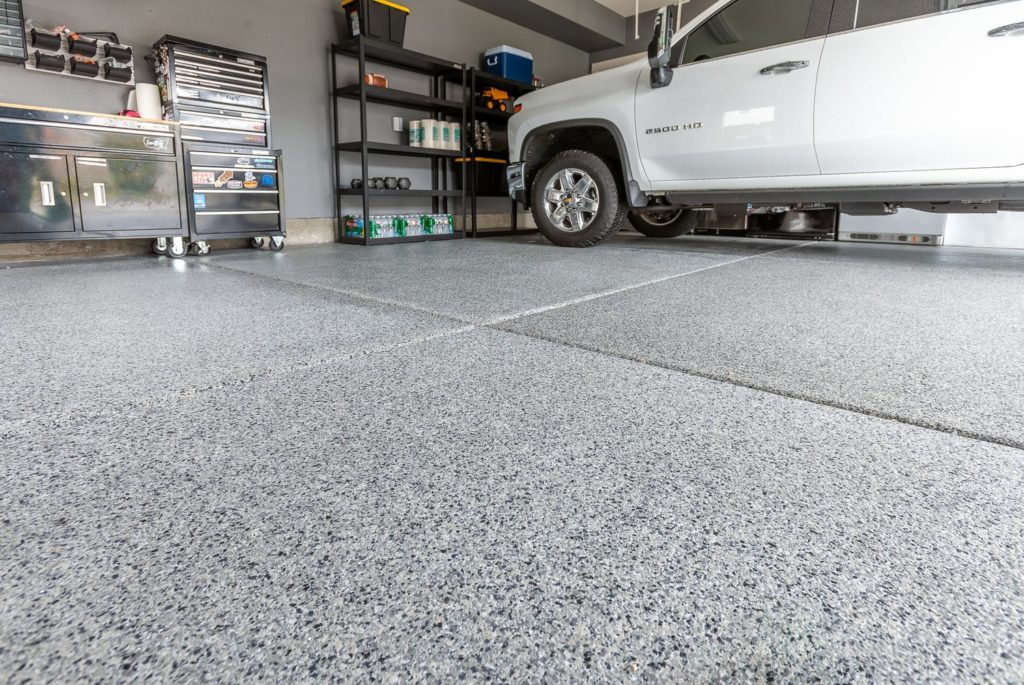
Once you have managed to prepare the concrete properly and have applied the first layer of an epoxy application, the second layer of the flooring is essential for a satisfactory final product. Most DIY kits will contain some color flakes, usually around two pounds in a small kit. These color flakes form a strong mechanical bond between the first layer and the topcoat. They are also responsible for the final products’ texture that contributes to creating a slip-resistant surface. Using an insufficient amount of color flakes will result in uneven floor coverage, allowing the first layer of epoxy to show through. It also produces a weak mechanical bond between the first layer and the topcoat. A weak mechanical bond will result in a floor covering that cannot expand and contract with the floor when temperatures fall and rise.
Professional floor installers will use enough color flakes to broadcast them until rejection. This means that the layer of color flakes will be so thick that the first layer of epoxy cannot bond with any more flakes. The excess color flakes are then leveled to remove the unbonded flakes and produce a middle layer that provides superior bonding strength and will be elastic enough not to crack when the concrete below expands and contracts.
Applying the topcoat. How long until you can use the garage again?
The last step in the process is the application of the topcoat. Just like with the first layer, you will need to observe all of the precautions you took for working with two-part epoxies. Again, most DIY kits will provide you with just enough to cover the area specified in the instruction that comes with the kit. The most significant disadvantage of using epoxies in a DIY kit is the cure time. Remember that to get ready for this project, all of that stuff in your garage had to go somewhere, and that somewhere is probably the driveway in front of the garage door. Typical DIY floor kits require a full seven days to cure and be ready for everyday use. So, unless you managed to move everything in your garage to secure storage space, it would have to stay right where it is for an entire week. Polyaspartic floors can be walked on in 3 to 4 hours and driven on in 24 hours.
Hiring a professional garage floor coating expert. Is it cheaper in the long run?
So, let’s review everything we covered here and compare DIY to a professionally installed epoxy garage floor.
1. Working with a two-part epoxy in large quantities can be very difficult if you have never done it before. A professional installer has the experience to handle the material efficiently and safely.
2. The job will require specialized tools that you will need to purchase or rent. In some cases, this may be more than the cost of the DIY materials.
3. Surface preparation will require the safe use of concrete sanding equipment and the use of the proper Personal Protective Equipment (PPE). A professional installer will have the skill and training to safely operate this machinery and produce the results required for first layer adhesion.
4. Cracks will need to be repaired with a chemically compatible product with the floor coating you install. Using the wrong product can ruin your floor, with the only option being to remove the flooring and start all over again. Professional installers are experts in material selection and will guarantee the compatibility of all the product used on your floor.
5. Large uneven cracks will require specialized equipment to prepare the floor for profiling. If not used properly can cause severe damage to the concrete that will need to be repaired before the floor installation can continue.
6. The flake layer is the backbone of your epoxy floor coating. It is responsible for the solid mechanical bond between the first layer and the topcoat. DIY kits do not provide enough flake material to allow you to broadcast the flakes to rejection. Another significant expense is if you need to buy 10x more flakes than comes with your DIY kit.
7. Your DIY floor may not be able to be walked on for 2 to 3 days, and you won’t be able to use your garage for up to a week. Remember where all that stuff from your garage went? It could be sitting in your driveway for a week. Professional installers use polyaspartic systems not available to consumers. These polyaspartic products can usually be walked on in 3 to 4 hours, not 2 to 3 days. And you will be able to park your car back in the garage in about 24 hours.
8. Finally, a professional floor installer will stand behind their work and provide you with a guarantee for their craftsmanship and materials used. If something goes wrong, you have someone to turn to for help. Buying a DIY kit leaves you on your own.
If you are interested in learning more about a professionally installed polyaspartic floor for your garage, contact Complete Coatings NW. They are experts in every aspect of polyaspartic floor installation and will be happy to schedule a FREE estimate. Visit Complete Coating NW website for more information, or give them a call today.


